Composting is one of the most beneficial and sustainable practices you can incorporate into your gardening routine.
It allows you to recycle kitchen scraps, yard waste, and other organic materials, turning them into nutrient-rich soil that benefits your garden.
Not only is composting eco-friendly, but it can also save you money on store-bought fertilizers and soil conditioners.
While composting is a simple process, the right compost bin can make it easier, more efficient, and less messy.
Building your own compost bin doesn’t have to cost a fortune. In fact, you can make an effective compost bin for as little as $10.
In this detailed guide, I’ll walk you through how to create a DIY compost bin, discuss essential materials, and offer tips on how to use and maintain your bin for a successful composting experience.
Materials Needed
To build a compost bin on a budget, you don’t need fancy tools or expensive materials. Many of the supplies you’ll need are either inexpensive or can be sourced from recycled materials, making this project both affordable and eco-friendly. Here’s a list of materials you’ll need to make your $10 compost bin:
- Plastic Storage Bin or Wooden Pallets:
If you use a large plastic storage bin, you’ll need to create holes in the sides and bottom for ventilation. This can often be found for around $5-$8 at most discount stores.
Alternatively, if you’re using wooden pallets, you can usually get them for free from local businesses or recycling centers. You may need 3-4 pallets to create a sturdy box.
- Drill and Drill Bits:
A drill is essential for creating holes in the bin to ensure proper airflow. If you don’t have a drill, you might be able to borrow one or use a screwdriver to create holes.
- Zip Ties or Screws:
To assemble the compost bin, you’ll need zip ties or screws. Zip ties are cheaper (around $2 for a pack) and easy to use for a quick assembly.
- Wire Mesh or Chicken Wire (Optional):
For additional ventilation or for creating a more open structure, you can add wire mesh or chicken wire. This is optional, but it helps increase airflow and keeps the compost from spilling out of the sides.
- Saw (if using wood):
If you’re using wooden pallets and need to cut them to size, a saw will be necessary. You can often borrow one from a neighbor or buy an inexpensive hand saw.
- Tools (Screwdriver, Measuring Tape, etc.):
Basic tools like a screwdriver, measuring tape, and marker to ensure accurate cuts and assembly.
Step-by-Step Guide to Building Your $10 Compost Bin
Creating your compost bin is a simple, hands-on project that can be completed in just a few hours. Follow the steps below to make your DIY compost bin:
Step 1: Choose the Right Location
Before starting construction, it’s important to choose a suitable location for your compost bin.
Your compost bin should ideally be placed in an area that receives some sunlight, but not too much direct sunlight.
Moderate sun will help the compost break down at the right pace, keeping it warm but not overheated.
Choose a spot that’s easy to access and close to your garden. This will make it more convenient to add materials regularly and use the finished compost for your plants.
Also, ensure that the ground is level, as this helps prevent the compost bin from tipping over and allows proper drainage.
You need to avoid areas where water might pool or cause the compost to become waterlogged. Good drainage ensures a balance of moisture and aeration, crucial for decomposition.
Step 2: Gather the Materials
Now that you’ve selected the location, gather all the materials you’ll need.
If you’re using a plastic bin, make sure it’s large enough for your composting needs, typically around 18-20 gallons for a small to medium garden.
If you’re using wooden pallets, ensure that the pallets are sturdy and in good condition.
Step 3: Prepare the Compost Bin (Plastic Bin Option)
1. Drill Holes for Ventilation:
Using a drill, create holes along the sides and bottom of the plastic bin. Make sure the holes are about 1-2 inches apart to ensure proper airflow.
You’ll need these holes to let air circulate through the compost, as oxygen is necessary for the decomposition process.
2. Secure the Lid:
If you’re using a plastic storage container with a lid, you may want to keep the lid on loosely to retain moisture but still allow airflow.
You can also remove the lid entirely during the composting process to improve air circulation.
Step 4: Prepare the Compost Bin (Wooden Pallet Option)
1. Arrange the Pallets:
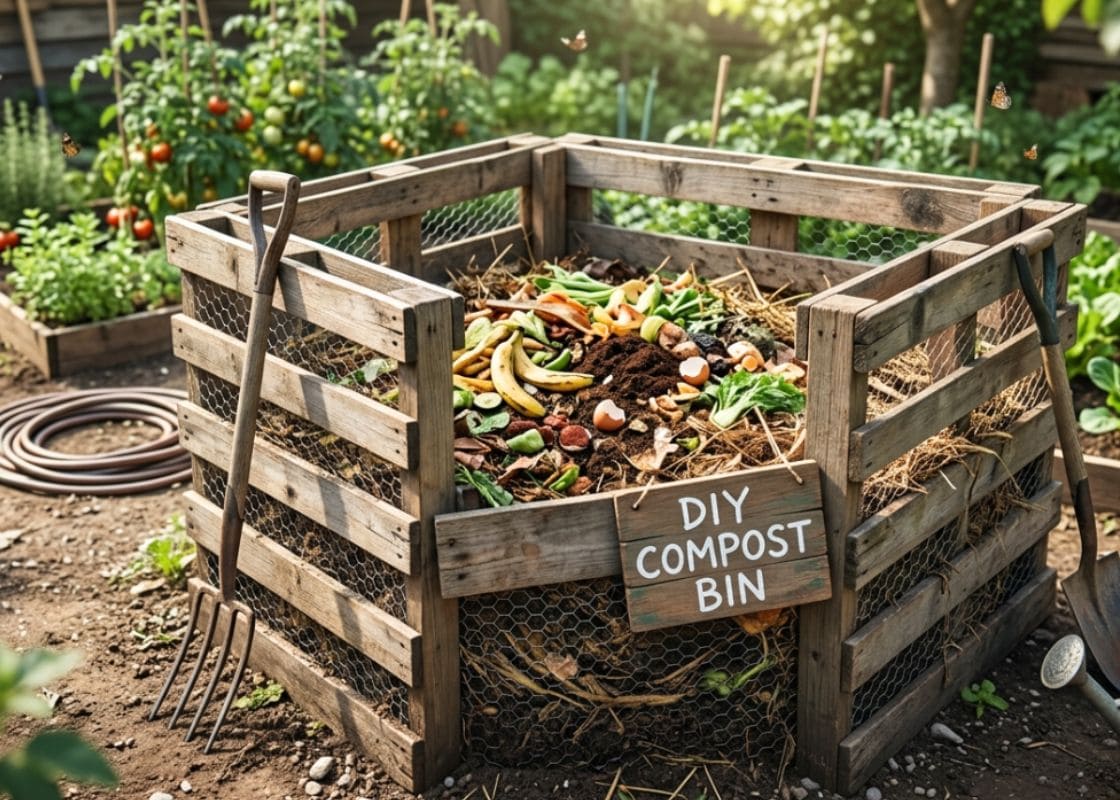
If you’re using wooden pallets, arrange them in a square or rectangular shape, using 3-4 pallets.
Leave some space between the boards of the pallets to allow air to circulate through the compost. You can use screws or zip ties to secure the pallets together.
2. Add a Base:
To keep compost from falling out of the bottom, you can use a small piece of chicken wire or a layer of sticks to create a solid base. This also helps with drainage.
Step 5: Add Ventilation (Optional)
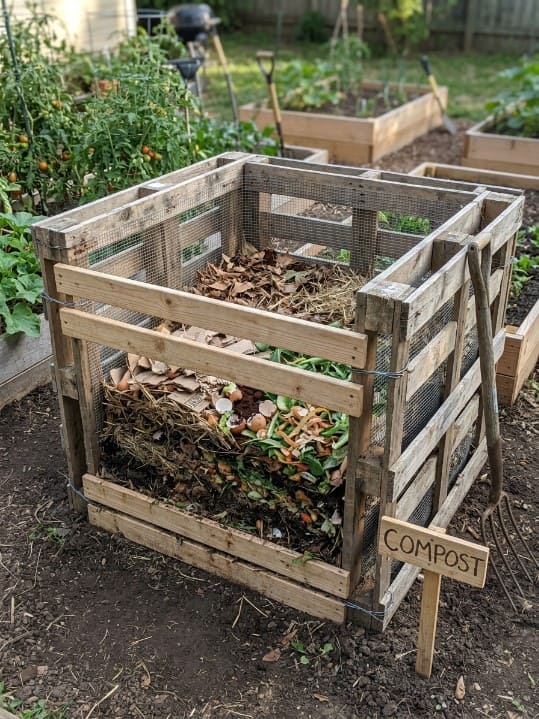
If you’d like additional airflow, you can line the sides of the compost bin with chicken wire or a wire mesh.
This is optional, but it can help prevent the compost from becoming too dense and promote better airflow for faster decomposition.
Step 6: Secure the Structure
If you’re using zip ties or screws, secure the compost bin to ensure it stays stable. Once you’ve assembled the structure, it’s ready for composting!
How to Use Your DIY Compost Bin
Now that your compost bin is ready, it’s time to start composting! Here’s how to use it effectively:
What to Compost
You can compost a variety of organic materials, including:
- Green Materials: Fruit and vegetable scraps, coffee grounds, grass clippings, and weeds.
- Brown Materials: Dried leaves, straw, hay, shredded newspaper, and cardboard.
- Other Compostables: Eggshells, small twigs, and hair.
Layering for Best Results
Start by adding a layer of coarse brown materials (e.g., dried leaves or straw) to the bottom of the compost bin.
Then, add green materials (e.g., food scraps or grass clippings) and alternate layers of brown and green materials.
This layering process ensures a balanced mix of carbon and nitrogen, which speeds up the composting process.
Moisture and Airflow
Compost needs the right moisture level to decompose efficiently. If the compost looks dry, add water to moisten it.
If it’s too wet, add more dry brown materials to absorb the excess moisture.
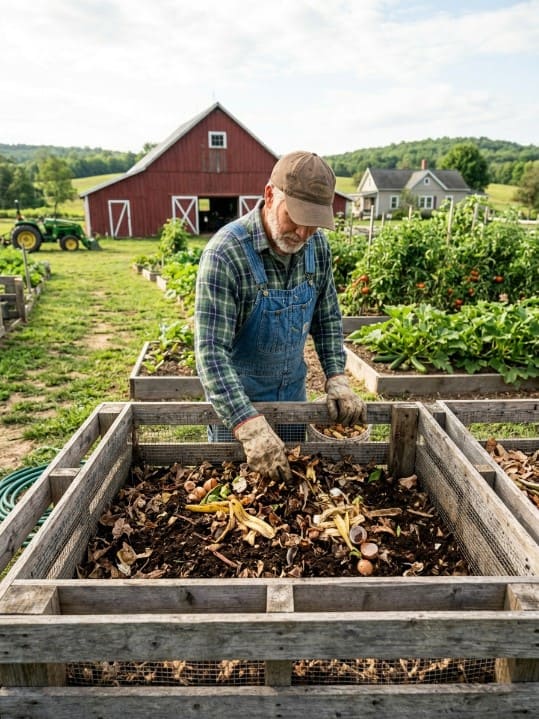
To encourage proper decomposition, turn your compost regularly using a pitchfork or shovel.
Aerating the compost helps oxygen reach the center of the pile, which is essential for breaking down organic matter.
Items to Avoid in Your Compost Bin
While composting is a fantastic way to recycle organic material, it’s important to remember that not all materials are suitable for the compost bin.
Adding the wrong items can slow down the decomposition process, attract pests, or lead to unpleasant odors.
Here’s a list of items you should avoid putting in your compost bin:
1. Meat, Fish, and Bones:
These animal products decompose slowly and can attract pests like rats, raccoons, and flies.
They also produce strong odors, which can cause your compost pile to smell unpleasant. Instead, stick to plant-based materials.
2. Dairy Products (Milk, Cheese, Butter, Yogurt):
Dairy products are high in fats and can create a greasy, smelly mess in your compost.
Like meat, they also attract pests and slow down the decomposition process.
3. Oily Foods:
Foods like cooking oils, salad dressings, and greasy leftovers should be avoided, as they don’t break down easily and can coat other materials, preventing proper aeration in your compost.
4. Diseased Plants or Infected Foliage:
If you notice any signs of disease in your plants or vegetables, do not compost them.
The heat generated in the composting process might not be enough to kill the pathogens, and you risk spreading them to healthy plants.
5. Weeds with Mature Seeds:
Weeds can be composted, but make sure they haven’t gone to seed.
If you add weeds with mature seeds to the bin, you may find yourself with a new weed problem when you spread your compost in the garden.
6. Plastic, Glass, and Metal:
While these materials are non-biodegradable, they don’t break down in the compost bin.
Always dispose of plastic, glass, and metal through proper recycling channels, not composting.
7. Pet Waste:
Dog or cat waste should not be composted due to the potential for harmful bacteria and parasites.
This can be especially concerning if you plan to use the compost on edible plants. Stick to composting human-safe organic materials.
8. Citrus Fruits and Their Peels:
While small amounts of citrus can be composted, large quantities can disrupt the pH balance in your compost, making it too acidic and inhibiting the growth of beneficial microbes.
It’s best to limit the amount of citrus fruits like oranges, lemons, and grapefruits.
9. Coal or Charcoal Ash:
Coal ash, in particular, contains harmful substances that can damage the health of your compost, while charcoal ash often contains salts that can harm plants when the compost is used.
Benefits of a $10 Compost Bin
Creating your own compost bin for just $10 brings several benefits. You don’t need to buy expensive composting equipment, just gather affordable materials and get started.
Composting reduces waste by turning kitchen scraps and yard debris into valuable soil. This reduces your carbon footprint and helps you create nutrient-rich compost for your garden.
You can easily adjust the size and design of your compost bin based on your space and needs.
Moreover, a DIY compost bin allows you to garden more sustainably by using your own compost to fertilize plants, reducing your dependence on store-bought fertilizers.
Troubleshooting: Common Problems and Solutions
Even with a DIY compost bin, there can be challenges along the way. Here are some common composting problems and how to solve them:
1. Odor Issues:
If your compost starts to smell bad, it could be too wet or have too much green material.
Add more brown materials like dried leaves or shredded newspaper, and turn the compost regularly to improve airflow.
2. Slow Decomposition:
If your compost isn’t breaking down, it may not have enough oxygen or moisture.
Make sure to turn the pile every 2-3 weeks, and ensure that the compost is moist, but not soaking wet.
3. Pests or Rodents:
If you have issues with pests or rodents, make sure your compost bin is securely covered.
Avoid adding meat or dairy, which can attract animals. You can also add a layer of chicken wire to the top to keep larger pests out.
Conclusion
Making a $10 compost bin is a simple, budget-friendly project that can greatly improve your garden’s soil while helping you reduce waste.
By using inexpensive materials, you can create a compost bin that works just as well as the expensive store-bought options.
Not only will you save money, but you’ll also be contributing to a more sustainable gardening practice.
With the right location, a bit of effort, and consistent care, your compost bin will help you create rich, nutritious soil that will support healthy plants and vibrant gardens.