Four months ago, on a crisp and quiet morning, I arrived at my farm as usual. The sun was just starting to rise, and the cool air was perfect for working outdoors. I was ready to get into the swing of things – checking on my plants, organizing, and getting ready for another productive day.
But as I walked across the farm, I heard a car horn in the distance. I turned around to see a familiar sight – my kind neighbor, Isabella, pulling up in her car.
Isabella had always been a thoughtful neighbor, someone who was always ready to lend a hand or share a good tip. This time, however, she was getting out of her car holding a container, and she walked toward me with a big smile on her face.
Curious, I asked, “What are you taking?”
To my surprise, she answered, “It’s for you.”
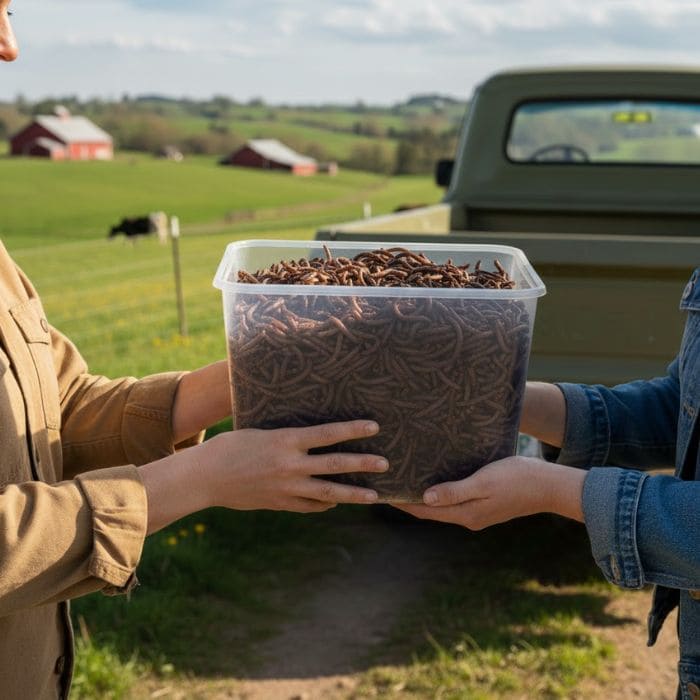
At first, I was a little confused as it had been quite some time since I received a gift, and honestly, I wasn’t expecting anything from anyone. Isabella opened the container she was holding, revealing a bunch of worms. “These are for your garden,” she said.
I was definitely surprised, to say the least. I didn’t know what to say. “Worms?” I asked, still puzzled. “I’ve never used them before, and I’m not sure how to.”
Isabella was calm and confident. She explained that these weren’t just any worms, but worms that could be used for Vermicomposting, a technique for recycling organic waste into rich compost using worms. She assured me that these worms would greatly benefit my garden and help with soil fertility.
At that moment, Isabella went on to explain that she had bought a large quantity of worms, but they were too many for the acre of land she had on her farm.
Rather than let them go to waste, she generously offered them to me. “I bought them, and I can vouch for their quality,” she said with confidence.
What is Vermicomposting?
If you’re like me and haven’t used worms for gardening before, you might be wondering, “What exactly is Vermicomposting?” Simply put, it’s a form of composting that uses worms to break down organic matter like food scraps and paper into nutrient-rich compost, also known as worm castings.
These castings are an excellent natural fertilizer that can improve soil health, enhance plant growth, and reduce the need for chemical fertilizers.
Vermicomposting is an eco-friendly way to recycle organic materials that would otherwise go to waste. The process involves using red wiggler worms, which are particularly effective at breaking down waste materials.
The worms eat the organic matter, digest it, and turn it into a dark, crumbly compost full of nutrients that plants absolutely love.
How I Set Up My Own Vermicomposting Bin
Isabella didn’t just hand me the worms and leave me to figure it out on my own, she took the time to explain exactly how I could set up my own vermicomposting system at home. With her guidance, I set up my first worm bin, and here’s how I did it:
Materials Needed:
- A bin or container: A large plastic storage bin works best. I used a 30-gallon container with a lid to keep things contained.
- Shredded paper or cardboard: This serves as bedding for the worms. It’s also a great way to recycle old papers and cardboard.
- Organic kitchen scraps: You’ll need vegetable scraps, coffee grounds, tea bags, fruit peels, and other compostable materials. Avoid meats, dairy, and oily foods.
- Red wiggler worms: These are the best worms for composting, as they thrive in the conditions of a worm bin.
- Water: Keeping the bedding moist is crucial to ensuring the worms are comfortable and can work efficiently.
Step-by-Step Guide:
1. Prepare the Bin
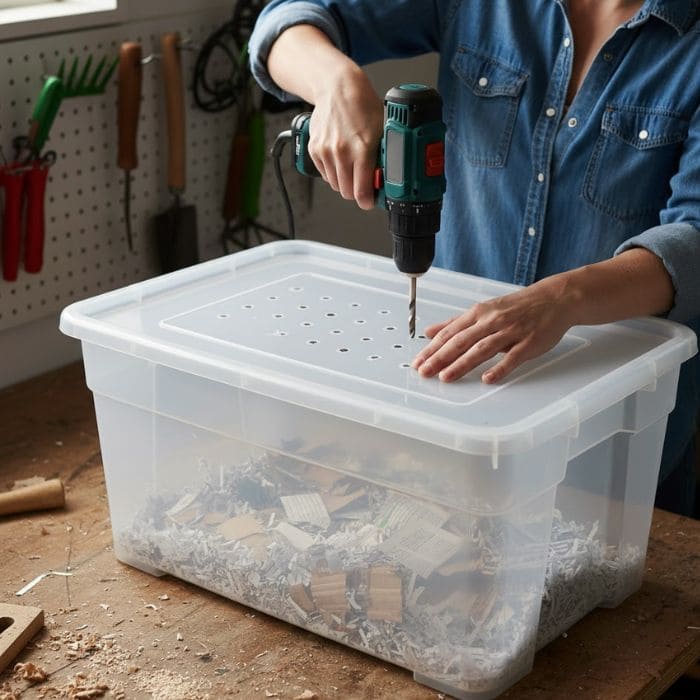
The first step was to choose a container. I opted for a large plastic storage bin, ensuring it had a good-fitting lid. I drilled several small holes into the lid and the sides of the container to allow airflow, as worms need oxygen.
2. Create the Bedding
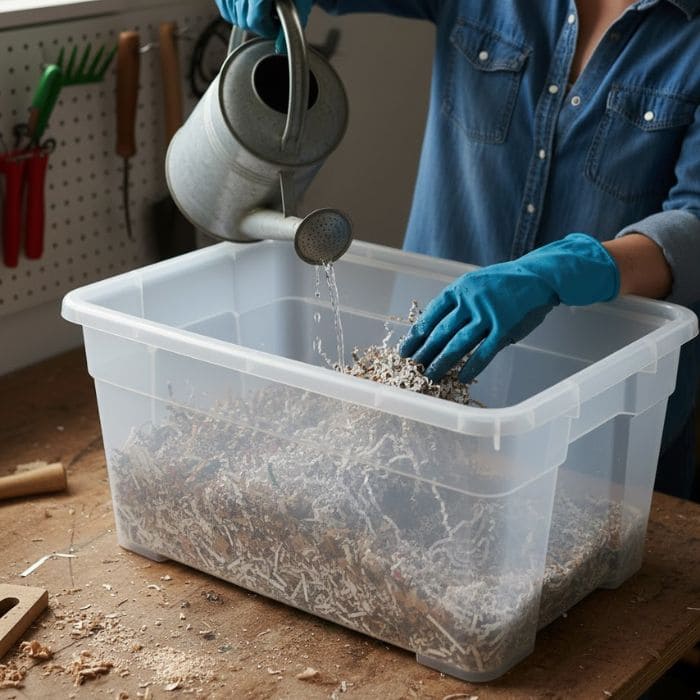
The bedding is vital for the worms’ comfort and health. I shredded some old newspaper and cardboard, making sure the pieces were small enough for the worms to burrow into.
I soaked the bedding with water until it was damp but not soaking wet, this helps to keep the worms happy and provides the right environment for them to thrive.
3. Add the Worms

After setting up the bedding, I added Isabella’s worms into the bin. I carefully spread them out on top of the bedding, ensuring they had enough space to move around and settle in. Red wigglers love to dig into the bedding, and after a while, they begin eating their way through the organic matter.
4. Feed Your Worms
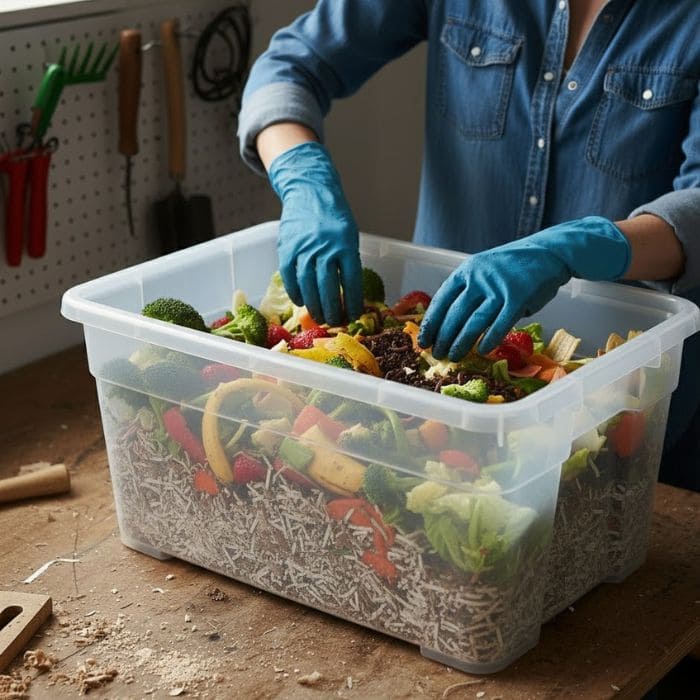
The next step was to start feeding the worms. I added organic kitchen scraps like vegetable peels, coffee grounds, and fruit rinds into the bin. The key here is to feed the worms in moderation, about once a week.
I made sure not to add any meats, dairy, or oily substances, as these can attract pests and upset the balance.
5. Cover and Wait
After adding the scraps, I covered the bin with the lid and placed it in a cool, dark place, away from direct sunlight. Over the next few months, the worms would break down the food scraps, turning them into rich compost.
Isabella advised me to wait around three months before using the compost, as that’s when it would be most beneficial for my garden.
The Waiting Game
It’s easy to get impatient when you’re waiting for something as valuable as compost. Isabella had told me that the process would take about three months, but life got in the way, and I didn’t tend to the bin as often as I should have.
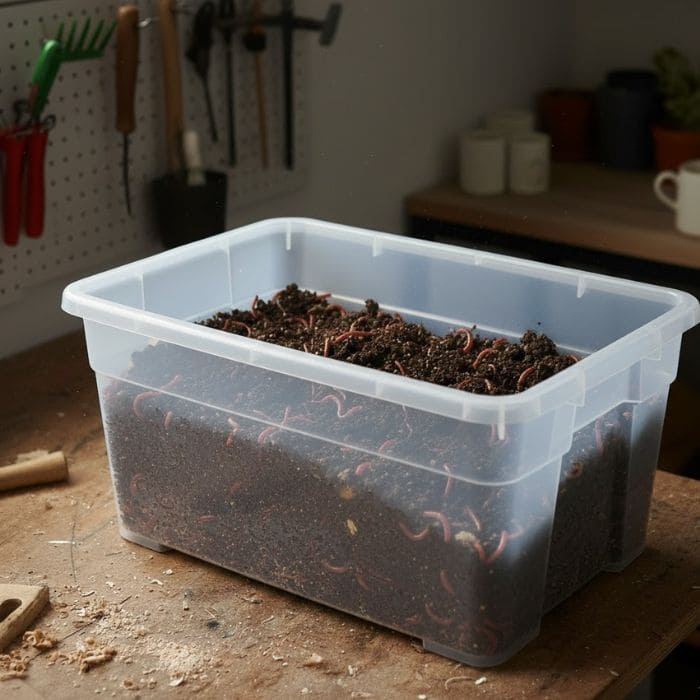
Fast-forward four months, and I remembered the bin sitting in the corner of my barn. Curiosity got the best of me, so I decided to check on it.
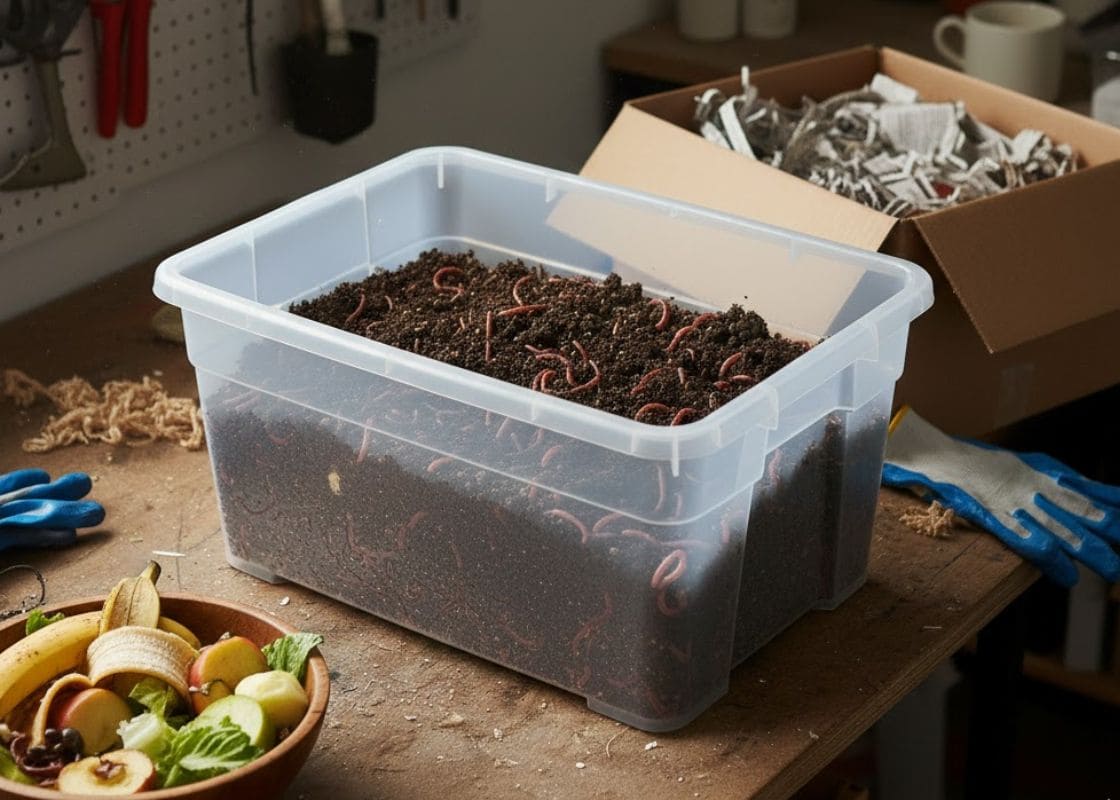
When I opened the bin, I was pleasantly surprised to see that the worms had done their job. The bedding had broken down into dark, crumbly compost. I could barely see any worms left, as they had consumed all the organic matter and turned it into nutrient-dense humus, also known as worm castings.
Using the Vermicompost in My Garden
With the compost ready, it was time to put it to good use in my garden. I carefully harvested the compost, making sure to leave any remaining worms in the bin to continue their work for future batches. The rich, dark compost was perfect for improving my soil, so I spread it generously around my garden beds, making sure to mix it into the top layer of soil.
The effects were almost immediate. Within a few weeks, I noticed my plants were growing more vigorously than ever.
The flowers bloomed brighter, the vegetables grew bigger, and the overall health of the soil improved. It was clear that the worm compost had worked wonders in my garden.
The Benefits of Vermicomposting
Why should you consider starting vermicomposting? Here are some of the benefits that have made it an essential part of my gardening routine:
- Nutrient-rich soil: The compost produced by worms is packed with nutrients that improve plant growth, including nitrogen, phosphorus, and potassium. It also contains beneficial microorganisms that help with soil health.
- Sustainable and eco-friendly: Vermicomposting is an excellent way to recycle organic waste that would otherwise end up in the landfill. It reduces waste while enriching your soil.
- Improved soil structure: Worm castings improve the soil structure, making it more aerated and able to retain moisture better. This helps plants grow stronger and healthier, especially during dry spells.
- Cost-effective: Once you’ve set up your bin, vermicomposting is virtually free. You don’t need to buy expensive fertilizers, as the worm castings serve as a natural and sustainable alternative.
- Reduces the need for chemical fertilizers: By enriching your soil with organic material, you reduce the need for harmful chemical fertilizers, which can damage the environment.
A Grateful Thank You
I am deeply grateful to Isabella for her unexpected gift and the knowledge she shared with me. Not only did she teach me about vermicomposting, but she also showed me the beauty of creating something beneficial for my garden from simple, everyday materials.
I now look forward to each new batch of compost and feel more connected to my garden than ever before.